Adopt a Hen
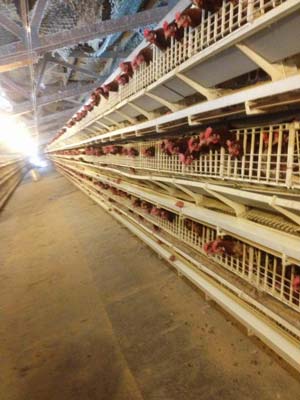 The more hens we can adopt out, the more we can save.
If you can provide a loving home for some hens please get in touch.
Please enquire about the adoption cost as each farm charges different amounts.
The adoption cost also covers the cost of rehabilitation (health checked, nails clipped, beaks reshaped where needed, wormed, parasite treated and de-mited).
Hens will need to be prepaid for into the account below: Please use your name as a reference.
02-0412-0108026-002
Tips for keeping ex battery hens
When you are adopting an ex battery hen from Free as a Bird Rescue, you are safe in the knowledge that your hen has already gone through the very hard transition from cage to free range life. This process can take up to many weeks, but I find the girls adapt very well once they learn a few fundamental steps.
When we get the girls we show them the following:
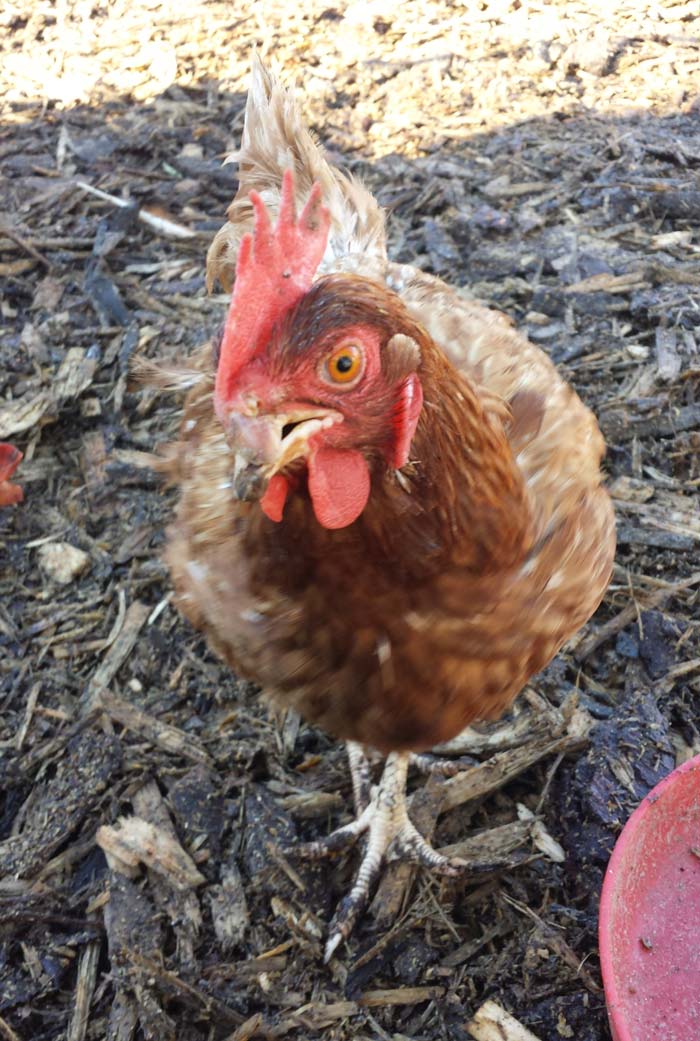 How to walk – Not an easy process for some as at this stage, they have muscle wastage from months trapped in their caged home standing around eating, drinking, sleeping and laying eggs. We have to show them how to take these first few steps. This can take a few minutes up to a few weeks but most pick it up pretty quickly with the aid of our other rescued hens (Precious, El Gato, Pecken, Poppy and Iggy) whom have gone through this process before and who I now use to show others how to be chickens again.
- How to sleep – Another step that seems easy, but these chickens have been under constant light for the last year of their lives, and now they see darkness and don’t know that they need to seek shelter in this time. It takes longer to teach this process, up to a few weeks, but once they get it they then find their bed at night without the aid of us. Again our chicken helpers assist in making this an easier transition.
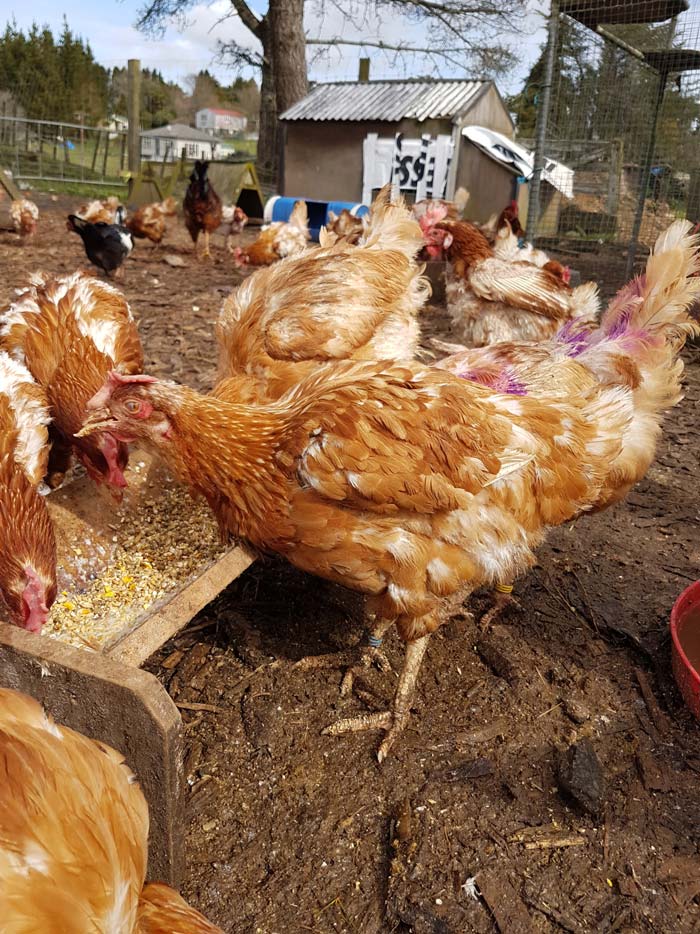 Eating and drinking – Another step that seems easy to us, but one that we take for granted. These girls have been use to hearing their food come and having to tap to get it, now as they transition into normal chicken life, even eating and drinking is foreign to them. We have to use similar feed, waterers and feeders in the first few days, but then we transition in to normal feeders, pelleted feed, veggie scraps and normal water systems that the backyard chicken keepers will have. Using our ex rescue girls again to train them in this area makes this job a lot easier.
- Perching – This is a step I don’t like to start too early, and you will find most battery hens you adopt wont do this even after they get shown, but its another important part of learning with us here. The muscles on these girls will be very weak from standing around all day every day and not moving, so we don’t push them to do this. It is all apart of the slow muscle building process that can and will take months for them to fully come right. I find placing the feed and water on a step a little higher off the ground help with this step and as those muscles start to get stronger, so does their willingness to hop up onto a higher sleeping area. I use milk crates as they are a good size and are quite stable.
- Laying
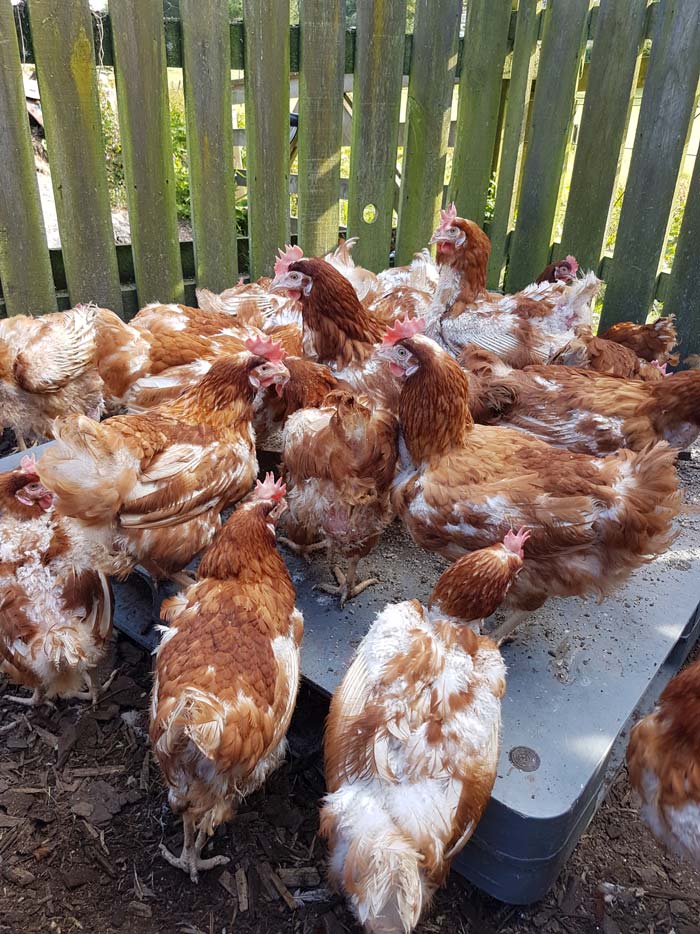 – Even these egg machine girls need to learn this. Not how to lay, but where to lay. They are use to laying in one area. The area they eat, sleep and live. So we need to show them where to lay and that its better to lay in a box than just on the ground anywhere. With the help of fake eggs and our ex battery girls, in a few days they seem to pick this up pretty well.
So with knowing where these girls start from and knowing what we do to get them there I hope that hasn’t put you off owning a few of these girls yourself. I personally wouldn’t trade my girls for anything. They not only give me an endless supply of eggs, but they also each have their own personalities and are the first to meet me at the gate each time I go out there.
What to expect
Now to explain what to expect from owning a few of these girls yourself and what to expect from adopting one from us.
Here are a few pointers to make sure you have before you take on ownership of our ex battery girls. They will look a bit shabby from feather loss from cages and they will still be rather pale, but know they have come along way already and the process from here on in is only up from here.
- A good high protein feed – This is not the cheap supermarket type or the cheap nasty one the farm supply shops have on special this month, make sure you look for the highest protein level feed you can find. Meat protein is best and if its a meat protein look for 16% or higher. We feed Sharpes Hi-lay pellets at 17% protein and a very excellent quality feed, but as long as you also stick to a good high meat meal protein feed you will be on the right path. The average hen needs at least 16% protein to lay an egg. These girls are machines. They will lay anywhere from 1 to 2 eggs a day when in top health so the extra protein they get from a good feed is going to help in this area as well as helping to grow back feathers and muscle.
- Oyster Grit – It is important that you have this readily available for these girls in a side dish so they can self medicate where needed. Oyster grit is a very good source of calcium and these girls, because of the high volume of eggs they lay, will need a lot of this as well. All hens need grit to help break down their feed in the crop. Just don’t add it to their feed as you may find that you are giving to much. Some feeds will have it in them already, but I have found that those feeds to are full of things that they don’t need added molasses and wheat to bind it and make it more palatable. Molasses, although it has a lot of extra minerals, I find is just like adding sugar to your food. Not needed.
- Housing – They don’t need anything flash, or expensive, but it does need to be warm, clean and dry. To keep your housing clean, untreated wood shavings is preferred as it is easy to clean up and easy to replace. I add a few drops of Washbar dog drops to the bedding of mine to keep the mites at bay and to keep the smell down. It should be replaced every week or so and never left to get wet and mildew. Wet and mould attract the mites and bugs and will make your hens sick and uncomfortable. You can use hay or straw, but I find the moisture holds more and it is easier for the mites to multiply. In the hotter seasons, I mix Washbar dog drops with some oil and paint the cracks in the hen houses and perches to keep the mites away. I have found after doing this for so long that it is the most natural and best way to treat them. Washbar do a very good flea drop for dogs that is safe to use for chickens and why I use it myself in their bedding. It can also be used on their legs to prevent leg mites and to get rid of leg mites should they get them. I will go more into treating for mites, worms and lice in another segment.
- Water – Chooks need to have access to fresh clean drinking water all the time. Either a good bowl that can’t be tipped over, a self watering system or a mushroom waterer will be fine. It just needs to be kept clean and fresh every day.
- Household scraps – Yes you can feed your household scraps to your new family members. They will love you for the variety they are getting. The things to avoid however are:
- Avocados – very toxic skins
- Over salted foods – if you over salt it, don’t give it to your hens
- Rhubarb – The leaves are very toxic
- Uncooked Potato skins – I tend to put all my household peelings into a pot and boil them up. The chooks love them
- Chocolate – toxic to most animals in larger doses and is also toxic to hens
- Ferns – I haven’t found they eat them yet, but yes the ferns that may be growing around your garden can be poisonous to hens
- Deadly Nightshade berry’s
- Foxglove

Comments are closed.